How to Plan a Photography Trip to Capture the Aurora Borealis
Posted on November 27, 2024 • 4 minutes • 766 words
Table of contents
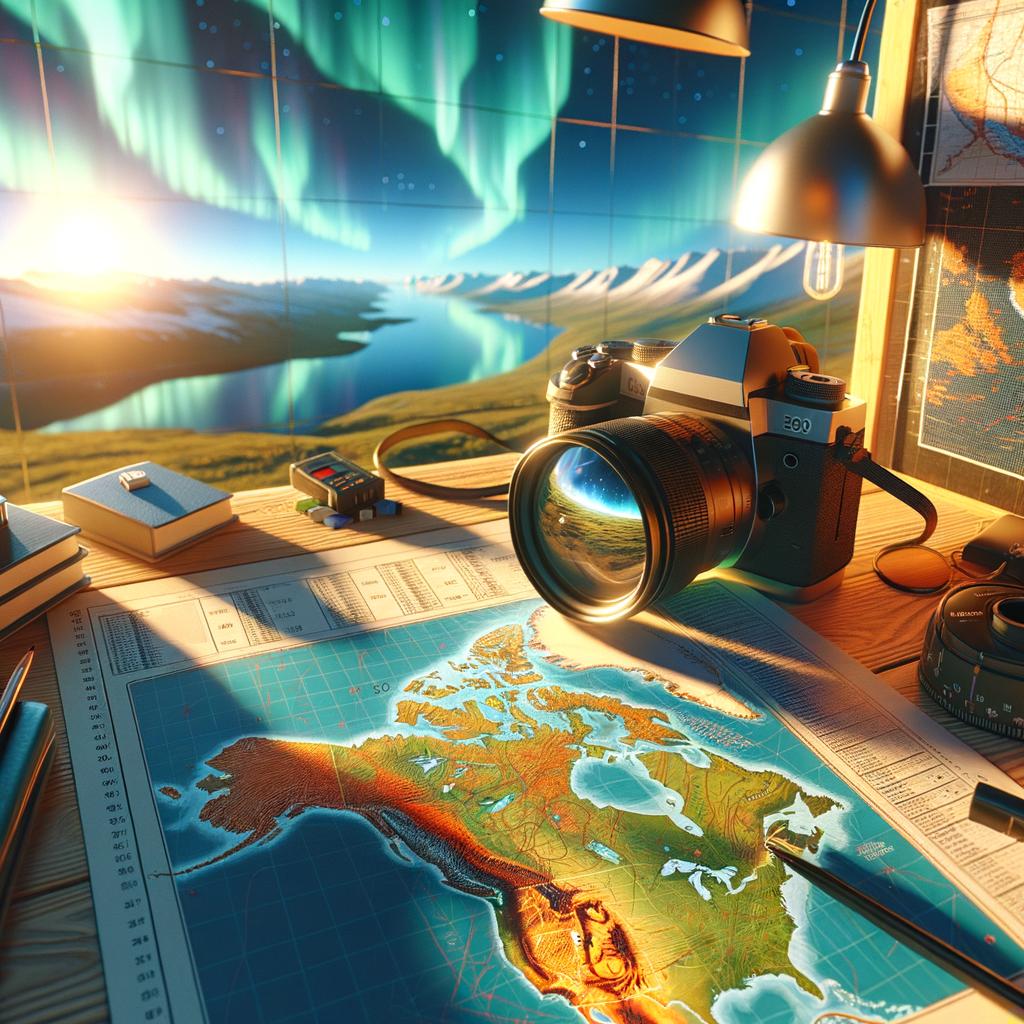
Planning a photography trip to capture the mesmerizing beauty of the Aurora Borealis is an adventure that blends nature, art, and exploration. The Northern Lights offer a spectacular display of colors that can leave any photographer in awe. However, capturing this elusive phenomenon requires careful planning and strategy. From choosing the right location to understanding the best times to shoot, each element plays a crucial role in ensuring your photography trip is a success. In this guide, we will explore key aspects of planning your trip, making it easier to create stunning images of this natural wonder.
Choosing the Perfect Destination
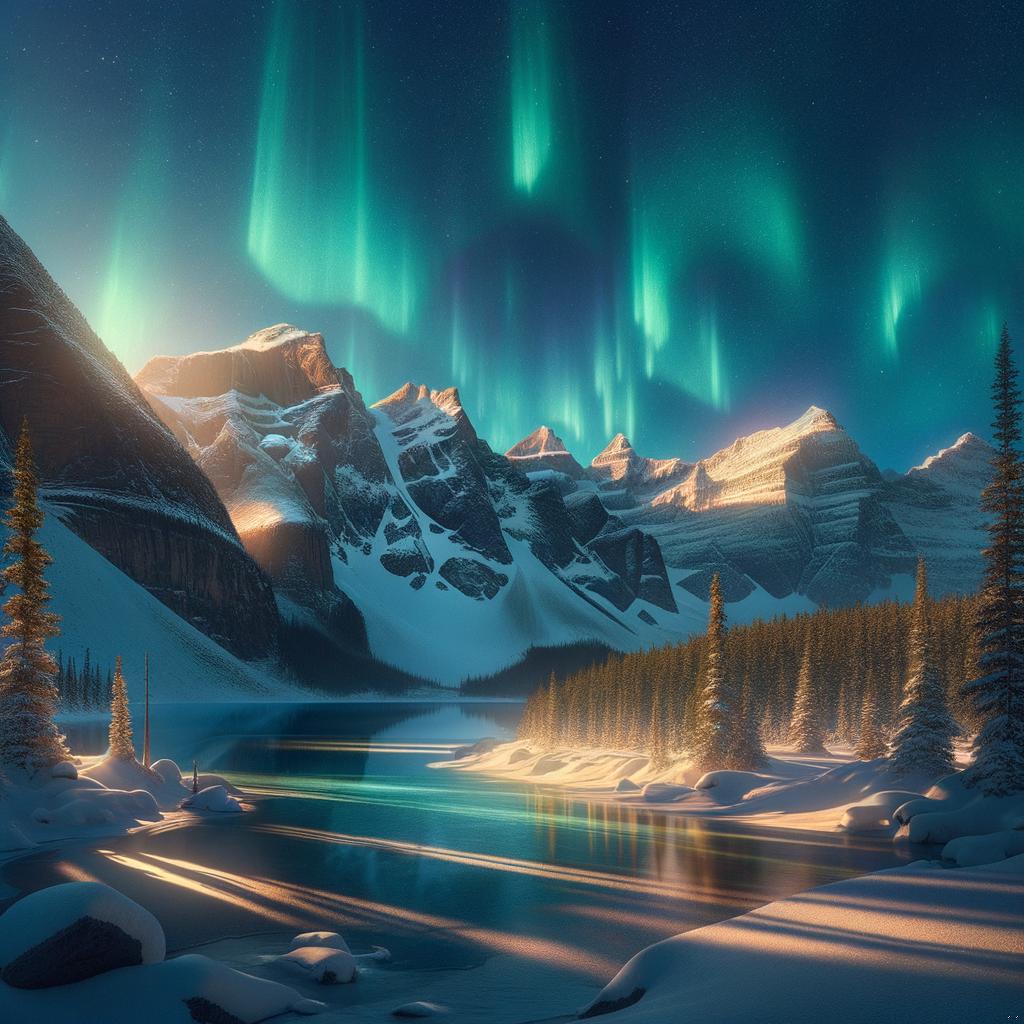
Selecting the right destination is a fundamental step in planning your Aurora Borealis photography trip. Some of the most renowned locations for viewing the Northern Lights include Alaska, Norway, Iceland, Canada, and Sweden. Each of these places offers unique landscapes and perspectives for photography. Researching the specific areas within these countries can help you find the perfect backdrop for your shots. Look for locations with minimal light pollution, open skies, and accessibility to natural features like mountains, lakes, or forests, which can enhance your photographs.
Timing Your Trip
Timing plays a pivotal role in experiencing the Aurora Borealis. The Northern Lights are most visible during the winter months when the nights are longest and skies are darkest. In general, the best time to visit is between late September and early April. During this period, particularly around the equinoxes in March and September, the chances of witnessing the lights increase. Monitoring solar activity and aurora forecasts can significantly improve your chances of capturing this stunning display. Websites and apps dedicated to aurora predictions can provide real-time updates on solar activity, helping you make informed decisions about when to venture out.
Understanding Weather Conditions
Weather conditions can greatly impact your photography experience. Clear skies are ideal for capturing the Northern Lights, so checking the local weather forecast is essential. Cloud cover can obstruct your view, making it difficult to see the lights. While planning your trip, consider staying for an extended period to increase your opportunities for clear nights. Being flexible with your schedule allows you to adapt to changing weather conditions and maximize your chances of a successful shoot.
Photography Gear Essentials
Having the right photography equipment is crucial for capturing the Northern Lights. Here’s a list of essential gear to consider for your trip:
- Camera: A DSLR or mirrorless camera with manual settings is ideal for low-light photography.
- Tripod: A sturdy tripod is necessary to stabilize your camera during long exposure shots.
- Wide-angle lens: A lens with a wide aperture (f/2.8 or lower) captures more light, essential for night photography.
- Remote shutter release: This tool helps minimize camera shake during long exposures.
- Extra batteries: Cold temperatures can drain batteries quickly, so bringing spares is advisable.
- Filters: Consider using neutral density filters for long exposures.
Techniques for Capturing the Aurora
Understanding the techniques for photographing the Aurora Borealis can greatly enhance your results. Here are some tips to help you capture stunning images:
- Use Manual Mode: Set your camera to manual mode to control your exposure settings. Start with a shutter speed between 5 to 30 seconds, an aperture of f/2.8 or wider, and an ISO setting between 800 to 3200.
- Focus Carefully: Autofocus may struggle in low light; switch to manual focus and set your lens to infinity.
- Experiment with Composition: Include foreground elements such as trees, mountains, or water to create depth and context in your images.
- Shoot in RAW: Using RAW format allows for greater flexibility in post-processing, enabling you to recover details in highlights and shadows.
Post-Processing Your Images
Once you’ve captured the Aurora Borealis, the next step is post-processing your images to bring out their full potential. Software like Adobe Lightroom or Photoshop can help enhance colors, adjust exposure, and remove noise. Experiment with different editing techniques to highlight the vibrant colors and unique textures of the Northern Lights.
Safety and Preparation
While the focus is on photography, safety should never be overlooked. Dress warmly in layers, as temperatures can drop significantly at night. Carry a flashlight, snacks, and a first-aid kit. Familiarize yourself with the area, and inform someone about your plans, especially if you are traveling to remote locations.
Embarking on a photography trip to capture the Aurora Borealis combines adventure with artistry. By carefully selecting your destination, timing your visit, understanding weather conditions, and employing the right photography techniques, you can create stunning images of this natural wonder. With the right preparation, your journey to capture the Northern Lights will be an unforgettable experience filled with breathtaking visuals.
